How it works
Plant a forest
Learn more
Ask for reviews
Learn more
Get more reviews
Learn more
Show your eco-impact
Learn more
Display reviews
Learn more
Use cases
Get reviews on Amazon
Learn more
Get reviews on Google
Learn more
🌳 Trees
Plant-for-the-Planet
Eden Reforestation Projects
ReForest Now
Pricing
Contact us
Log in
Start free trial
All articles
How To
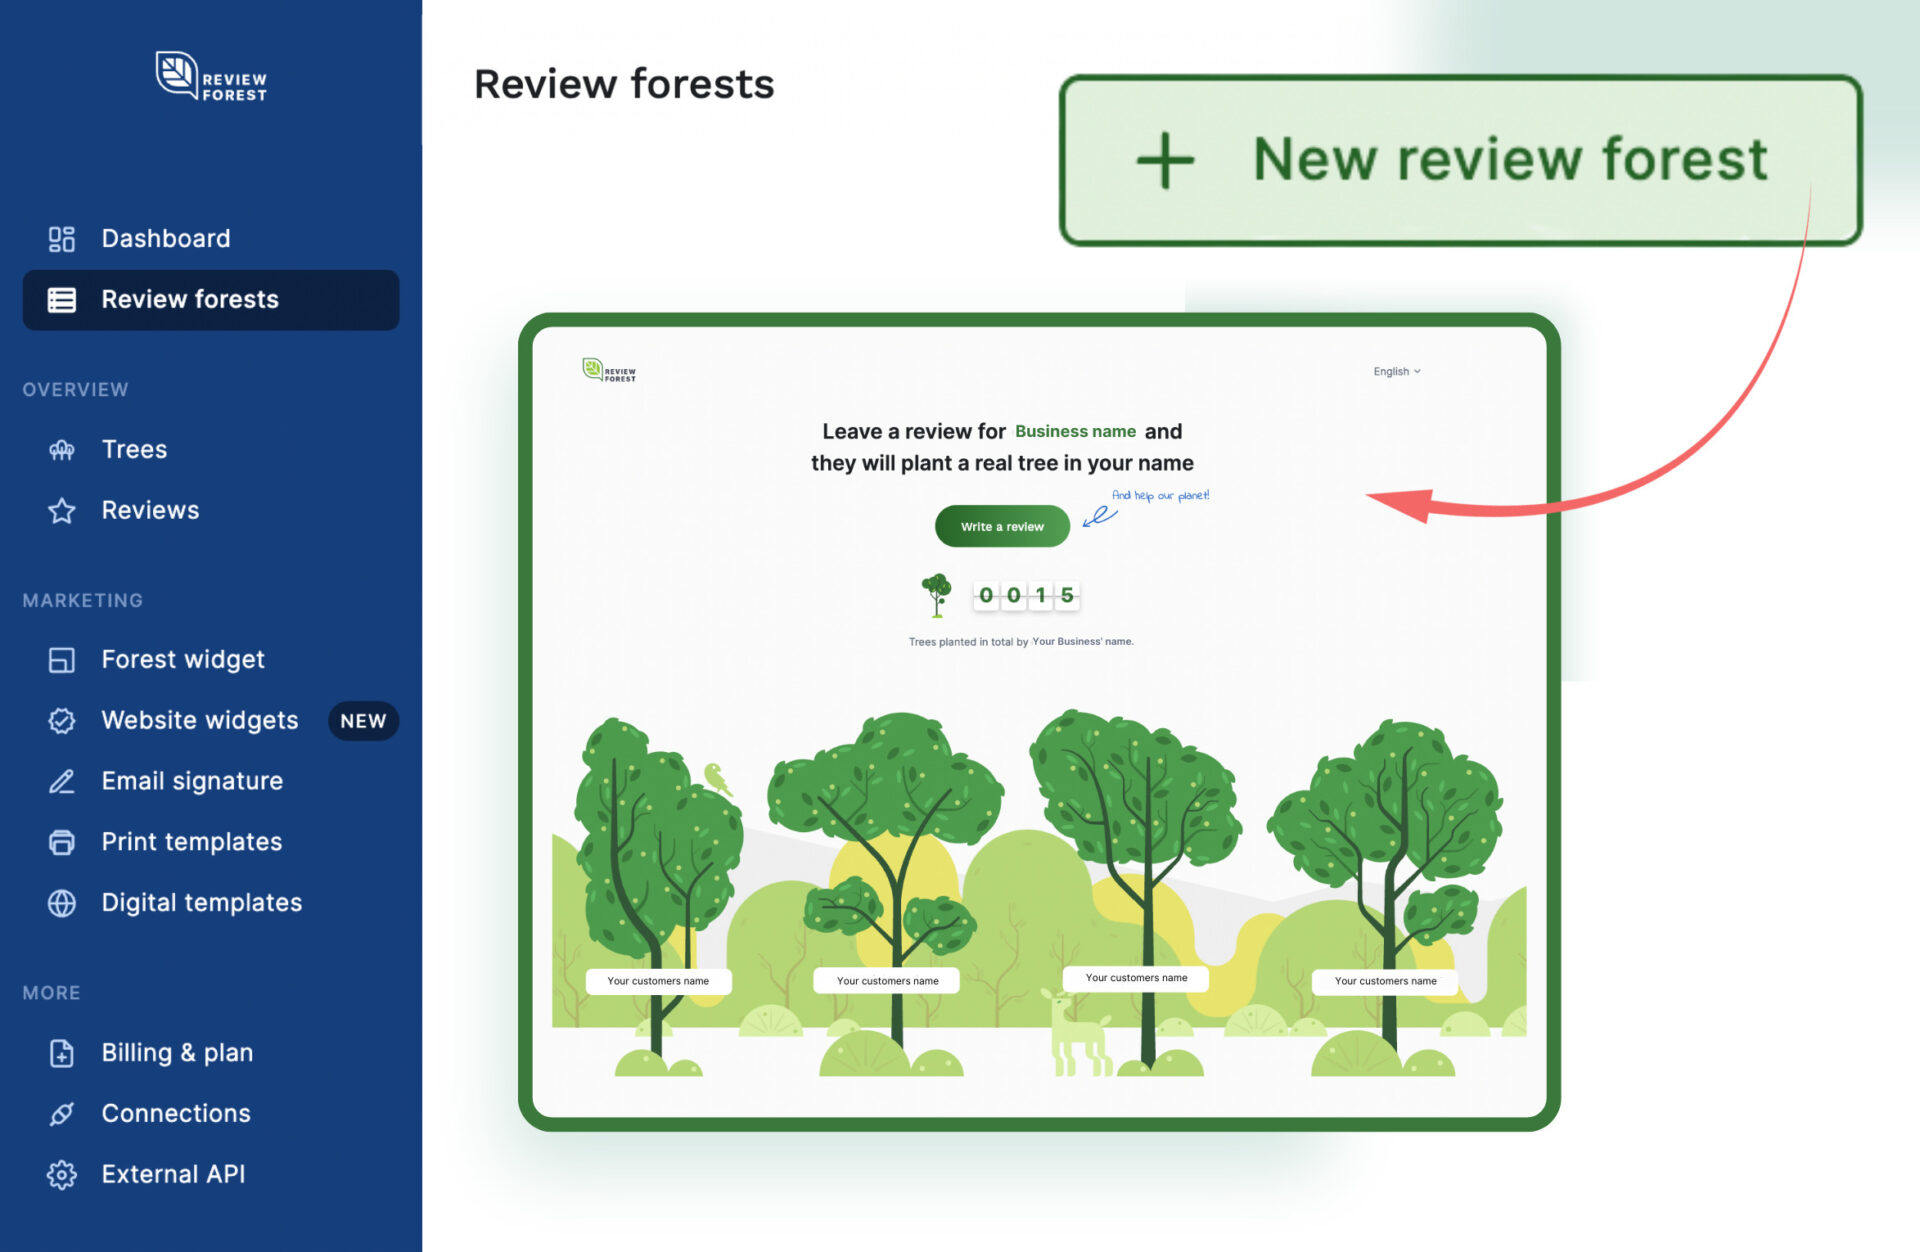
Connect another business location or product. Create a new forest
Connect another business location or product. Create a new forest
Josephine Härtel
21.11.2022
Share
Content
Where to find the option?
1. Connect your business location or product
Add another business location via Google Maps
Add another business location via Google Business Profile
Add another product via Amazon
2.